How to Remove Keycaps with a Plastic Keycap Puller
HeJialeiShare
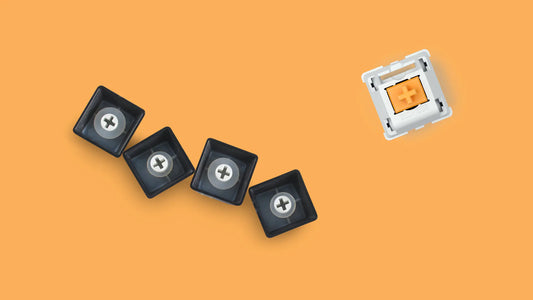
Want to clean your keyboard or swap keycaps? A plastic keycap puller is a common, budget-friendly tool – often included free with mechanical keyboards. It looks like a small tool with plastic "claws".
How to Use It Safely:
- Position Evenly: Hook the puller's claws under opposite sides of the keycap edge. Ensure a symmetrical grip.
- Pull Straight Up: Apply gentle, even pressure upwards. Avoid twisting or pulling sideways! Jerky force or uneven angles can scratch keycaps, especially softer ABS plastic.
- Start Small: Practice on small keys (like letters) before tackling larger stabilized keys (Spacebar, Enter, Shift).
- Be Patient: If the keycap feels stuck, never force it. Slightly adjust the puller's position or try gently rocking it (front-to-back) while lifting. This prevents damage to the keycap or switch stem.
See it Done Right!
Watch the safe removal process in my video:
Pros:
- Low cost and simple design.
- Great for beginners or occasional use.
- Readily available.
Cons:
- Hard plastic lacks flexibility, increasing scratch risk on keycaps.
- Less versatile than wire pullers for tight spaces or fragile caps.
Key Takeaway: While plastic pullers aren't as durable or gentle as wire versions, using the correct technique – even pressure, straight pull, starting small – makes them safe for everyday maintenance.
Happy cleaning!
Keycaps Recommendation
Into keycaps? Here are some recommendations: