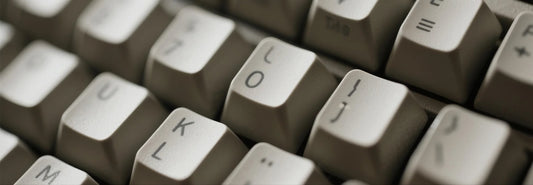
How to Clean Your Mechanical Keyboard Properly 2025
HeJialeiLet’s face it—mechanical keyboards are like the sports cars of typing tools. They’re sleek, satisfying to use, and deserve a little extra care. But even the fanciest mechanical board can turn into a crumb-filled, dust-laden mess after months of use. The good news? Cleaning your mechanical keyboard isn’t rocket science, and it’s totally worth the effort to keep those switches clicking smoothly and your keycaps looking fresh. Let’s break it down into four simple steps, with a few pro tips thrown in to make the process even easier.

Step 1: Snap a Photo—Your Future Self Will Thank You
Before you start yanking keys off like a kid unwrapping presents, grab your phone and take a clear photo of your keyboard layout. This might seem like overkill, but trust us—after spending 10 minutes removing keycaps, your memory of where that tiny “\” key goes will vanish faster than a Wi-Fi signal in a basement. It’s especially handy for keyboards with non-standard layouts, like those with extra macro keys or weirdly placed function keys. Think of it as a map for reassembly—no treasure (clean keyboard) without a map, right?
Pro move: Zoom in on the photo and save it to your phone’s home screen. You’ll be referencing it more than you think.
Step 2: Pull Those Keycaps Off (With the Right Tool)
Now for the fun part—removing the keycaps. You could try prying them off with a butter knife or your fingernails, but that’s like using a screwdriver to open a bottle of wine: possible, but risky (and kind of silly). Instead, invest in a keycap puller. These little tools are cheap (usually under $10), easy to use, and designed to yank keycaps off without scratching your keyboard or breaking the stems underneath.
Here’s how to do it: Place the puller over a keycap, squeeze gently to clamp onto the sides, and pull straight up. Most keycaps will pop off with a satisfying “click.” Start with the letter keys—they’re the easiest. When you get to larger keys like the spacebar, shift, or enter, go slow. These often have stabilizers (little metal bars) that need a bit more care. If a keycap resists, wiggle the puller slightly—don’t force it. Patience is key here (pun absolutely intended).
Pro tip: Put the keycaps in a bowl or tray as you remove them. It’s way better than letting them roll around your desk like tiny plastic escapees.
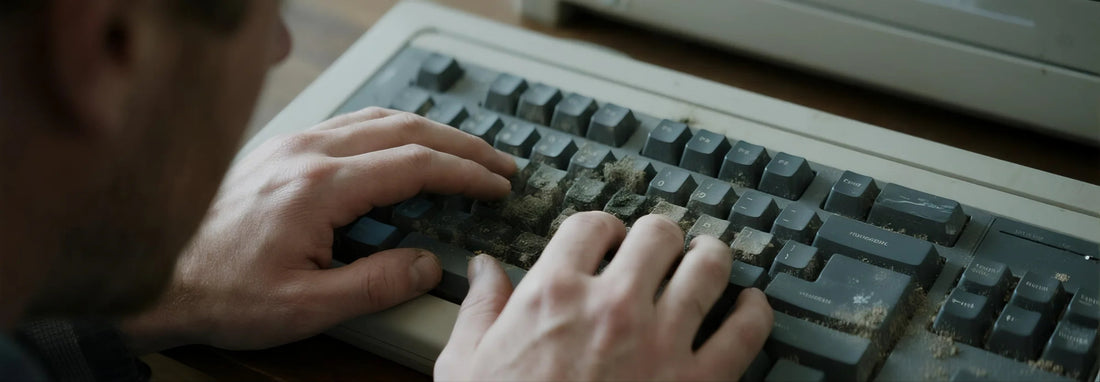
Step 3: Attack the Debris on the Plate
With the keycaps gone, your keyboard’s plate (the metal or plastic surface under the keys) is exposed—and it’s probably not pretty. Crumbs, dust, pet hair, and who-knows-what-else have been throwing a party under there, and it’s time to evict them.
First, grab a can of compressed air. Hold the can upright (tilting it can spray liquid, which is bad news for electronics) and blast short bursts between the switches. This will dislodge most of the loose debris. Do this over a trash can or outside—you don’t want to relocate the mess to your floor.
Next, take a soft-bristled brush (an old toothbrush works great, as long as it’s clean) and gently scrub the plate. Focus on the areas around the switches, where dust loves to hide. The brush will pick up any leftover crumbs or dust that the compressed air missed. Think of it as giving your keyboard a mini exfoliation—smooth and refreshed.
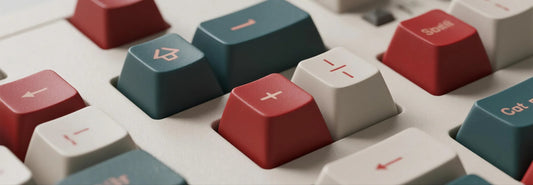
Step 4: Clean Those Keycaps (They’re Grosser Than You Think)
Now that your keyboard’s plate is sparkling, it’s time to tackle the keycaps themselves. These little guys have been collecting oils from your fingers, coffee splatters, and maybe even a stray Cheeto crumb or two. Gross? Yes. Fixable? Absolutely.
Fill a bowl with warm water and add a few drops of mild detergent (dish soap works perfectly). Swirl the water to mix it up—you don’t need a bubble bath, just enough to loosen the grime. Grab a cotton rag (or a soft sponge) and dip it into the soapy water. Wring it out so it’s damp, not dripping, then wipe each keycap thoroughly. Pay extra attention to the tops, where fingerprints and oils build up, and the undersides, where dust likes to linger.
For extra dirty keycaps (we’re looking at you, spacebar), you can soak them in the soapy water for 10-15 minutes. Just don’t leave them in too long—plastic can start to warp if it’s submerged for hours. After soaking, give them a quick scrub with the rag to remove any remaining gunk.
Once they’re clean, rinse the keycaps with warm water to remove soap residue, then lay them out on a towel to air dry. Important: Let them dry completely—at least a few hours, or overnight—before putting them back on. Moisture and electronics are mortal enemies, and you don’t want to short out your keyboard.
Bonus: Disinfecting (Because Germs Are Real)
If you’re feeling extra thorough (or if you share your keyboard), grab a bottle of isopropyl alcohol (70% or higher). Dampen a cotton swab with alcohol and gently wipe the tops of the keycaps (after they’re dry!) and the keyboard plate. Alcohol kills germs without damaging plastic or metal, making it perfect for keyboard disinfection. Just don’t douse the keyboard—you only need a tiny bit.
Reassembly: The Grand Finale
Once everything is dry, it’s time to put the keycaps back on. Refer to that photo you took earlier (see? We told you it would help) and start popping them back into place. Most keycaps will snap on with a satisfying click. Take your time—there’s no rush, and misplacing a key now will bug you every time you type.
Final Thoughts: A Clean Keyboard = Happy Typing
Cleaning your mechanical keyboard might take an hour or so, but the payoff is huge. Your keys will feel smoother, your keyboard will look better, and you’ll avoid that “ew, what’s that crumb doing there?” feeling mid-typing spree. Plus, regular cleaning can extend the life of your keyboard—so you’ll get more mileage out of that investment.
So grab your keycap puller, snap that photo, and get to work. Your mechanical keyboard (and your fingers) will thank you. Happy typing!